
However if you're like me and stuck with the pop-up flash for the time being, but still want a diffuser, then read on!
The DIY pop up flash diffuser - costs NOTHING!
(Pictures in sequence below)
What you'll need:
An empty milk bottle, ruler, sharpie / marker pen & scissors (and of course your camera)!
Step 1 - Mark out the bottle as per picture below, repeat on both sides, and link up your marks (behind bottle handle)
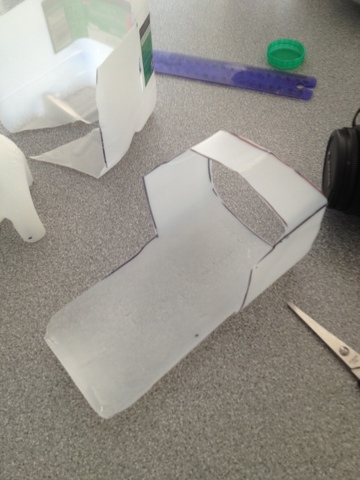
Step 2 - Cut it out, (If you're young, please get an adult to do it for you) you should be left with something looking like the picture.
Step 3 - Measure + mark the lens size as per picture. Then cut this out with your scissors (I also cut an extra notch to fit inside where the flash pops up from - see picture)
Step 4 - Cut the long piece of plastic - so that you can make a latch, you'll have to measure this yourself (you'll see what I done in the picture)
Step 5 - Make a slit in the plastic for your little latch to go through, this will act as a lock to stop it falling off.
And you're done! A totally free DIY DSLR pop up flash diffuser made from a milk bottle.
Happy snapping!


No comments:
Post a Comment
Leave your comments here! Note: Comments with links will be removed!